As we discussed in
Artist Tip #9, part of our artistic journey is to learn
design so we can rearrange and modify what we see in order to make the resulting painting more pleasing to the viewer at the expense of departing a bit from reality. And if we're leaving reality completely behind by painting abstractly, design is even more important. There are seven basic
Principles of Design that we must understand and master:
- Contrast
- Gradation
- Repetition with Variation
- Harmony
- Balance
- Dominance
- Unity
These principles are universal, spanning all times, cultures, and subjects, because they're based on human nature - what humans find pleasing. They are the artist's guide to creating more successful paintings. Let's begin with the first two principles.
Contrast refers to differences, opposites, conflict. Some examples of contrast in paintings:
- Horizontal vs. Vertical
- Hard vs. Soft
- Straight vs. Curved
- Warm vs. Cool
- Light vs. Dark
- Large vs. Small
You can see that each of these contrast examples can be achieved by manipulating the design elements we covered previously - color, size, shape, etc. Contrast is important because it creates interest and excitement in our paintings. Without contrast, a painting is almost assured to be dull and boring. However, too much contrast can create chaos, and other principles are also needed to prevent contrast from getting out of control. To make this principle more understandable, let's take a look at a painting titled
Quiet Evening and identify some of contrasts it includes:
The horizontal painting shape, and the horizontal lines in the sky and water, are offset by the vertical ship masts. There are even oblique lines in the rigging contributing to the directional contrast. The hard edges of the masts, boats, and buildings contrast with the soft lines in the sky and water, and some of the ripples in the water are rough, providing additional contrast. The warm colors of the foreground boat and the roof of the building contrast with the overall cool color of the painting. The light sky contrasts with the very dark passages of the second boat and the dock. All of these contrasts, as well as others we haven't mentioned, contribute to making this painting visually interesting. Try to imagine how different this painting would be if most of these contrasts were removed... it would be rather bland, don't you think?
Our second principle,
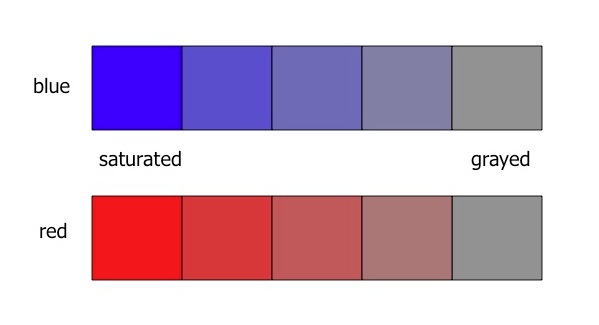
Gradation, refers to gradual change, and usually applies to color and value. For example, in a particular shape one could gradually change from blue through purple to red, or from a medium to a light value. Gradation can be used to transform a naturally "dull" area into a more interesting one. Artists should think gradation for all shapes, but particularly for large ones. Let's look at another painting for gradation:

Here, note the color gradation in the sky and water from blue through yellow to pink and back again. There is also color gradation in the background city silhouette, between reddish and bluish purple. Gradation from red to yellow is used in the reflection of the sail. There is minor value gradation vertically from mid to light value in the sky, and stronger from light to dark value in the foreground (in the water, the change is less gradual, and might be called contrast as well). If all of these gradations were missing, the painting would look flat and much less interesting. For additional "practice", I suggest you look for contrasting items in this painting, and for gradation in the previous painting image.
In our next artist tip, I plan to continue down the list of design principles, beginning with
Repetition with Variation, another extremely important part of good painting design.
To retrieve all of my artist tips, find the search box in the right-hand column of this blog and search for
artist tips. If you'd like to have images of my latest paintings, my art activity schedule, and a link to each new artist tip delivered directly to your inbox, sign up for my e-newsletter
Here.